Wet-on-wet oil painting is the application of new layers of oil paint on previous layers of paint while they are still wet.
While this may sound scary and dangerous, like driving without a seatbelt, you can breathe life into your oil paintings with some practice and planning.
The painting technique is often referred to as alla prima (Italian for “at the first” and indicating a painting done in one sitting), wet-in-wet, wet-into-wet, and is associated with the “en plein air” movement.
Contents
What’s the Point of Using Wet on Wet Painting Technique?
The Big Picture of Wet-on-Wet Oil Painting Method (Pun Intended!)
One of the main benefits of the wet-on-wet painting technique is a look of expressiveness.
Painting with the wet-on-wet technique isn’t meant to be a photographic depiction of a subject; instead, it captures the “feel” of the scene and expresses the artist’s feelings about what they are painting.
Completed in one sitting (direct painting) and sometimes done outside, on location (en plein air), these paintings don’t get overworked as many studio paintings do. It’s the artist’s “gut reaction” to the subject and records the artist’s energy while painting.
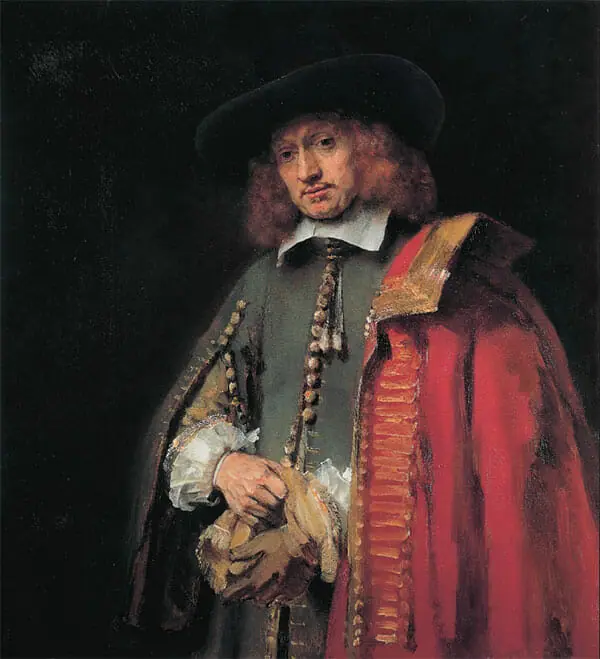
Unlike indirect painting, where you have to wait up to a week between glazed paint layers, you see your results immediately!
Think of a gestural figure drawing, unlike a refined portrait. One captures the“essence” of the subject, while the other captures a “likeness.”
Using Wet-on-Wet Oil Painting with Other Techniques
Although wet-on-wet oil painting is usually done in one session, the painting technique may be completed in stages with other approaches to achieve a more controlled result while maintaining the freshness of an alla prima painting.
Alla Prima oil painting is a direct painting method completed without underpainting. However, wet-on-wet oil painting can utilize a dried underpainting and an alla prima-like final application.
Sketching out the big shapes of your scene and roughly blocking in the colors and values first can give you confidence and free you to be more expressive in details and final brush strokes.
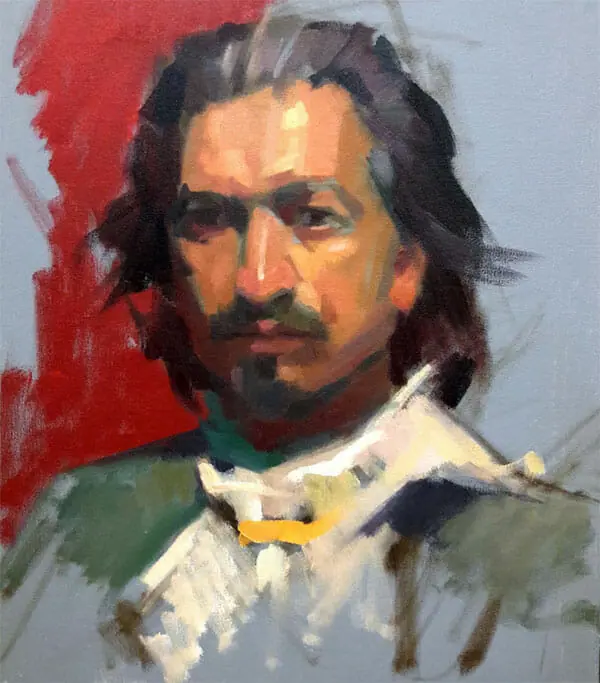
What’s Good About Wet on Wet Oil Painting and What’s Bad? That Depends on Your Perspective!
Finish Paintings Quickly
Repetition is often the best way to get better at something.
Painting wet on wet can be done in a few hours or an afternoon and is a great way to get comfortable with a new subject or try different angles or color schemes of your subject before tackling a finished painting.
Completing a wet-on-wet oil painting can prevent you from overthinking your work. Additionally, unlike dry paint, if you don’t like what you’ve painted, you can scrape it off with a palette knife and start over! Painting directly with thick paint applications can take up to a week before it dries.
Spontaneous Look
Wet-on-wet oil painting has energy and feels more alive than indirect painting. Some landscape paintings make you feel like you are in the scene, while others feel like you are looking through a window or at a photograph of the arrangement. Wet-on-wet oil painting captures the feeling of a moment in time which is the effect the Impressionist painters were after.

Field Sketches to be Used for Bigger Studio Paintings
Many oil painters use the En Plein Air method to capture the feeling of a scene and bring that oil painting into the studio for a larger, more detailed painting that retains the energy of the moment.
Painting Wet on Wet Takes Practice and Planning
This wet-on-wet technique requires practice to understand how the paint behaves when layering on top of wet, previous layers.
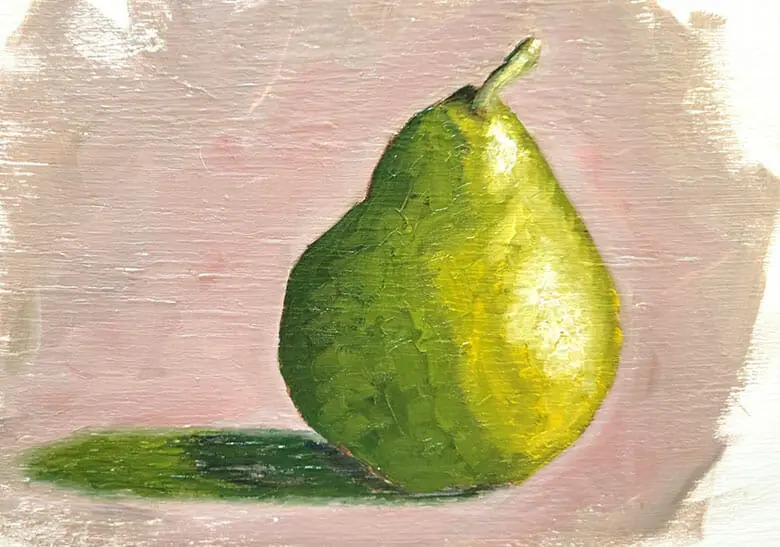
Picking a simple subject like a piece of fruit to experiment with is an excellent way to get comfortable with the wet-on-wet technique. You don’t want your first attempt to be on an oil painting destined for competition.
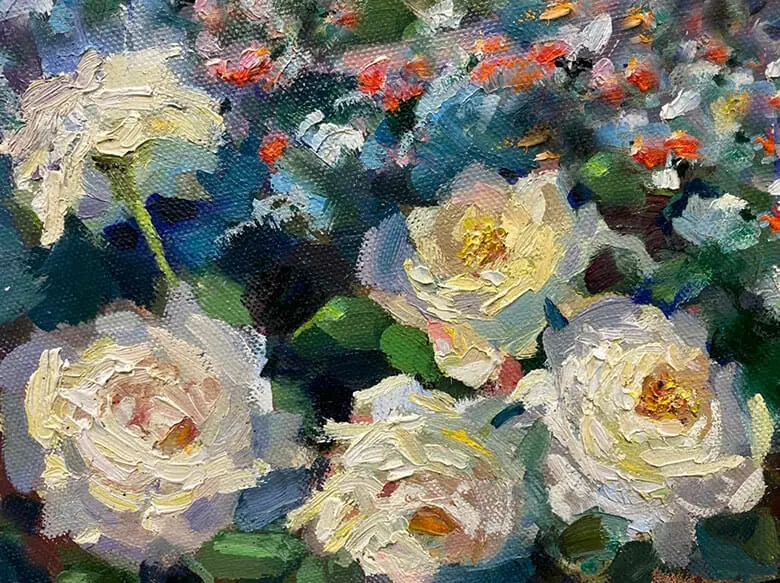
Requires Artists to Let Go of Perfectionism
Some artists have no problem being expressive, but many of us want to rework areas of our paintings until we feel they are perfect.
Wet-on-wet paintings require you to be OK with the painting not looking exactly like the photo you are working from. That’s the excitement of this approach –Happy Accidents!
Using palette knives (painting knives) is a trick to loosen up and prevent overworking.
Where did it come from?
Wet-on-wet painting originated around the 15th century but exploded in the 19th century thanks to the impressionist painters and the advent of the portable paint tube. Expressionist artists took the technique into abstraction, capturing the emotions of artists like Jackson Pollock.
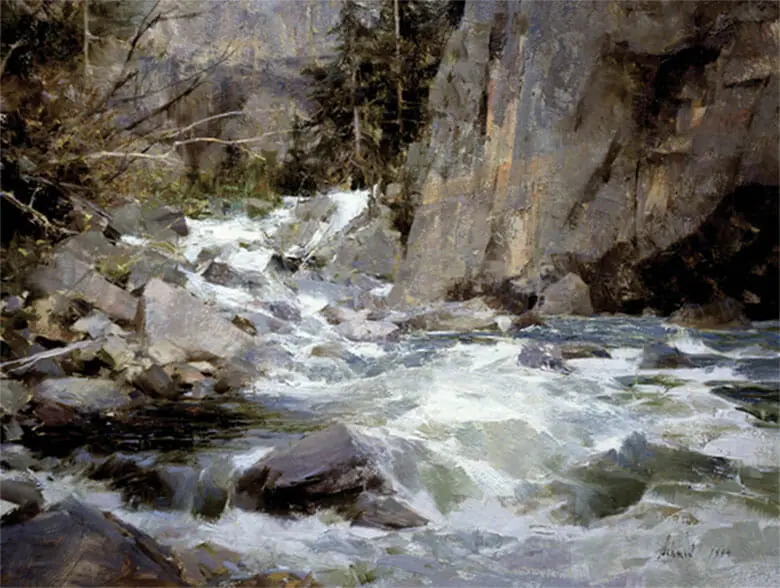
Artists and Wet-On-Wet Oil Painting Examples
From its origin to current times, many artists have used the wet-on-wet technique in contrast to their indirect oil painting works (glazing). Let’s look at a few of these masters’ works over the years.


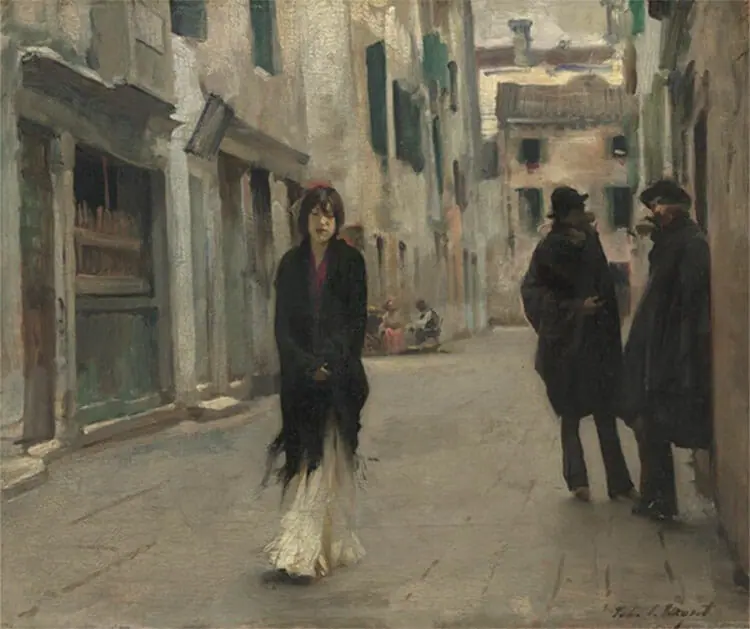


Materials and Tools Required
Surface
A sturdy canvas and a delicate touch are required for some applications. A bouncy canvas can make these applications harder when painting directly on already applied wet paint.
Quality canvases don’t have to be expensive.
Often, a wood panel is used outdoors due to its resistance to brush pressure and the wind blowing it away. A soft paintbrush is more desirable than a stiff paintbrush, as stiff brushes will be more likely to “disturb” the lower layers of paint when placing new layers on top. Sable watercolor brushes are a better choice than hog-bristle and help to avoid adding too much pressure. The wet-on-wet method works great with a palette knife (sometimes called a painting knife) alone or with brushes. With various shapes and sizes, choosing the right palette knife for the spot you’re working on makes using this painting technique easier. Conda makes a great set of palette knives. You can learn more about brushes here. Regular oil paints will work for the wet-on-wet method, but the texture is the most crucial consideration. Buttery paint that allows for a flowing application is much better than stiff paint. Think of Goldilocks; you want to avoid dry paint or too oily paints. Selecting quality paint and the right oil paint color is essential because more opaque paints are more effective when painting wet into wet. Titanium white is more opaque than most whites, and cadmium yellow is more opaque than Indian yellow or yellow ochre. The first layers should be thinned with mineral spirits, but the upper layers of new paint should be mixed with a painting medium like linseed oil. Experiment with something like walnut oil, which dries slower than linseed oil. Followers of Bob Ross may know of his painting technique of using liquid white, or liquid clear, as a base for working alla prima. You can achieve this same effect by mixing titanium white with linseed oil to a consistency of softened butter. This article is an excellent place to start, but if you want to refine your skills, visit the Evolve Art Education website. For your first attempt, practicing on old canvasses or scraps of canvas by placing one layer of wet paint on top of another without trying to paint an object will help you develop a feel for how to keep the layers from mixing, mixing slightly, or thoroughly mixing, depending on your intentions. Practice with the pressure of the brush and paint will help you learn how much control is required for each layer when adding more wet paint. You should frequently step back from your paintings and squint to reduce the details, allowing you to see the relationships of colors, values, and edges. Squinting is even more critical with wet-on-wet painting because it helps you loosen up and not focus on details as you might in a polished portrait. Whether you create an underpainting first or finish your painting all at once, a light sketch of the outline of the big shapes in thinned paint will make for a better composition and reduce some of the anxiety artists can feel when starting a painting. It may be easier to block-in the big shapes on your canvas with thinned paint to establish general colors and values. This very thin layer creates a “map” for applying expressive brush strokes without worrying about composition. Using any old regular oil paints is OK. Here, you paint the objects to look “convincing,” using subtle value changes to give a 3-dimensional illusion. You aren’t trying to achieve photorealism. Instead of painting a person’s facial features, you are painting the light and dark spots on the face so it looks realistic instead of flat. Lay the stroke and leave it alone. This wet painting technique gives alla prima painting energy or the feeling of movement. Now that the shapes or objects are beginning to look realistic, like a faraway scene or like you are squinting, you can refine the edges between shapes to make the painting look less like a cut-and-paste image. When the edges of two shapes have different colors or values, dab at the paint with a dry brush at spots along the border to soften the transition instead of adding new paint or brushing the contour and eliminating the edge. Refining edges takes practice and continuous cleaning of your brush. For the upper layers, use careful planning and a light touch. Since you will be placing more wet paint on already wet paint, you must be deliberate with your strokes and paint slowly. If you place facial features on a person, you must use the appropriate brush, have just enough color, and place the paint in the right spot (e.g., you “suggest” an eye with an area of dark paint). These details are added with dabs of paint instead of strokes; be careful not to use too much pressure when depositing the paint. Use a gentle lift-off so the paint doesn’t remain on the brush. Now, take some final steps back to see where parts of the wet painting may look awkward, or need more detail – an edge may be too sharp or soft. Perhaps one area has too much green and needs to be tempered with its complementing red paint. The more you step back and squint at your oil painting, the easier it is to see problem areas like sour notes in a musical piece. The wet-on-wet method is not something mastered overnight. It takes patience and practice but can energize your paintings and lift you out of a painting rut. Check out other tips and techniques in our oil painting techniques article and round out your metaphorical painter’s toolbox!
Brushes

Oil Paint & Mediums

Steps for Using the Wet-on-Wet Technique
1. Practice First
2. Step Back and Squint
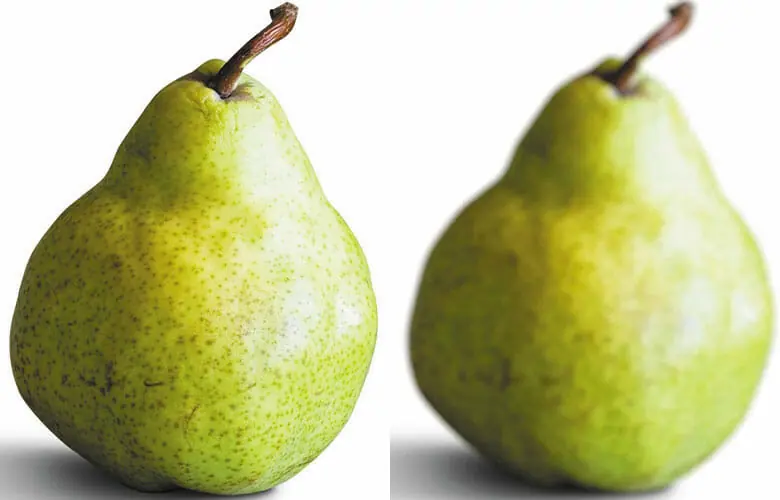
3. Sketch

4. Block-in

5. Model the Forms
 Consider Monet or Van Gogh’s use of many strokes to fill a body of water. Placing one color next to another so they optically mix is a method called Broken Color, where the eye will combine a blue and yellow mark to create green.
6. Refine Edges

7. Add Details

8. Synergize the Whole Painting
Final Thoughts


