So, you want to learn exactly how to layer oil paints. Then you’ve come to the right spot.
In this article, you’ll find out the beginner strategies for creating oil paintings, how an oil painting can and should be layered, and how this technique is vital to creating stunning artworks as a novice oil painter.
But first:
Contents
What You Need to Know About Oil Painting Before You Start
Before you start painting in oils, it’s important to know exactly how oil painting differs from other mediums:

Dry Time
Depending on the thickness of a single layer of paint, oil paintings take a notoriously long time to dry. It can take anywhere from a few days to a couple of weeks to dry fully (between layers), and each new layer takes longer to dry than the last (better referred to as slow-drying layers).
That’s why intermediate-to-pro oil painters keep busy working on multiple paintings simultaneously.
When layering oil paints, you need to consider how long you’re willing to wait before moving on to the next layer.
Color Quality
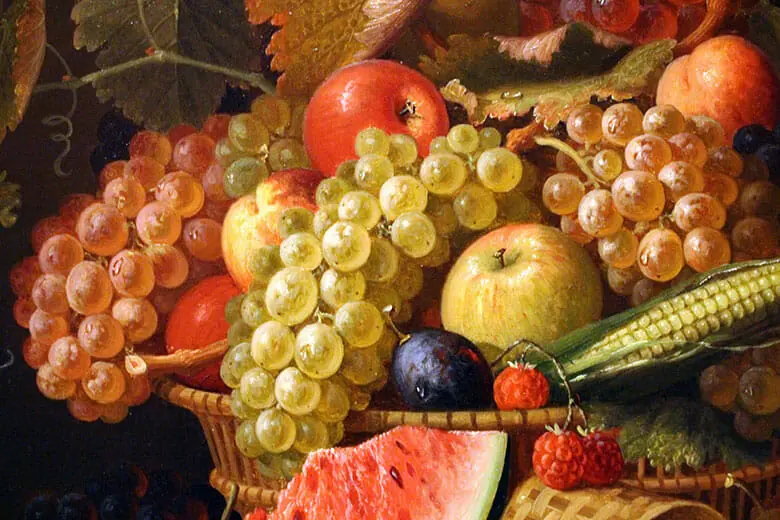
If you’ve ever played with oils before, or have seen others use them, then you’re probably aware of how vibrant oil paints are.
The color quality depends greatly on how long you let your layers dry, as they tend to mix and muddy with little dry time.
Difficulty
Anyone can paint in oil… and once you begin that process, practice, and become comfortable layering oils, the artwork will come naturally.
Oil Paint Materials
If you are new to oil painting, here’s what you’re going to need:
- Paintbrushes
- Oil Paints
- Palette
- Stretched Canvas or Canvas Boards
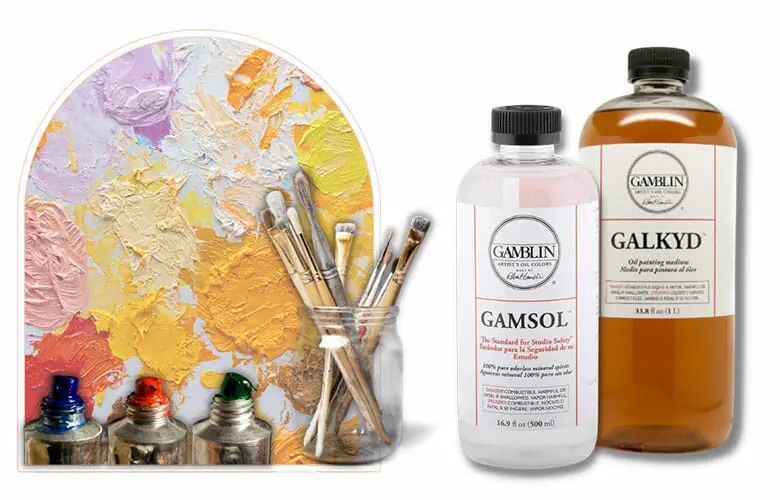
- A Paint Thinner and an Oil Paint Medium for mixing. We recommend Gamsol Mineral Spirits and Galkyd Mixing Medium, but there are natural medium alternatives, like linseed oil or safflower oil. Test each to figure out what you prefer to use
- Easel
- Painting Stick (to keep hands off the canvas as you paint).
Step 1: Prepping the Canvas for Oil Paint
Having your supplies gathered means you can dive right into learning about the layering aspect of oil paintings.
The question we’re answering is: how do we start the layering process of oils?
Before any oil paint is applied, let’s begin with the sub-layer.
A sub-layer is what’s going to help maintain the vibrancy and longevity of your oil paints. It should be a thin layer of clear acrylic medium, and painted on both the front and back of the canvas (if you’re using stretched canvas).
To ensure an even stronger base, consider applying Gesso.
Gesso prevents the paint from being absorbed into the canvas and can be smooth or textured, depending on your personal preference. For ultimate bonding and protection, we recommend a maximum of 3 layers.

If you want to skip gesso, there’s one other alternative to preparing your canvas: oil ground.
Oil ground is an oil-based primer, but unfortunately, it can’t be used on raw canvas. You need to apply a Size (a type of glue such as PVA) to seal the canvas and prevent absorption of the oil ground before applying the primer.
If you are new to oil painting, we recommend sticking with acrylic Gesso for its simplicity and effectiveness.
Step 3: Layering Oil Paint: First Layer
If you’ve ever taken the time to watch the process of oil painters, you may notice they start with a thin layer of oil paint.
This first layer, referred to as underpainting, is the thinnest layer of your artwork.
Mix your Sepia or Burnt Umber oil paint (great for warm undertones) with mineral spirits to create the thin paint, and apply it to your canvas to fill the white space.
You can also sketch some initial shapes and lines at this stage. Take note of subject placement, shadows, and highlights.
Step 4: Additional Layers: The Oil Paint Layering Techniques You Need To Know
There are a number of oil painting methods you can try as you become more comfortable using oils.
1. Blocking-in (Basic Shapes).
Blocking-in is an art technique where you fill in basic shapes with a solid color. Color blocking in art is typically used as the first new layer after your underpainting.
2. Glazing (Thin Layers- Used for Optimal Blending Without Actual ‘Blending’).
Glazing in oil painting creates coherence between each layer of paint using a translucent color over a dry layer of paint. This technique helps to create a smooth and even finish to your artwork.
It can also create a brilliant and vibrant color palette, allowing you to layer and experiment with different colors to create unique and interesting effects.
3. Impasto (Thick, Textured Layers), Usually Made With a Palette Knife.
Impasto techniques are usually saved for the final layer of an artwork, and take a very long time to dry. They’re great for creating a textured piece. If, for example, you were painting flowers, using an impasto technique would give further dimension to the petals.
The Fat Over Lean Rule (Most Important Oil Technique)
When you’re layering oil paints, the most important rule of thumb is what Oil Artists call, ‘The Fat Over Lean Technique (or fat over lean rule).’ This technique involves adding more medium to the oil paint with each subsequent layer. This is an important technique because it ensures the longevity of an artwork (meaning the oil paint won’t crack over time).
Common practice is to start with very thin layers (your lower layers) and make your way to thicker layers until you reach your top layer, which contains the most oil and is slow drying.
Your layers should also become progressively more detailed (if you’re looking to create a more realistic painting).
Be wary of using too much oil. Think about how textured you want the entire painting to look once you reach your top layer.
It’s always important to consider the next layer in the process as you progress (thicker paint application does not necessarily mean less layers.)
Other Layering Techniques to Note:
The fat-over-lean technique is probably the most important oil painting technique to remember, but there are other, equally important painting methods to consider for your oil painting to ensure maximum artwork quality:
Working From Background to Foreground
This may be a difficult technique to master, but doing so helps not only break the painting apart into comprehensible sections but saves you time.
Working From Dark to Light
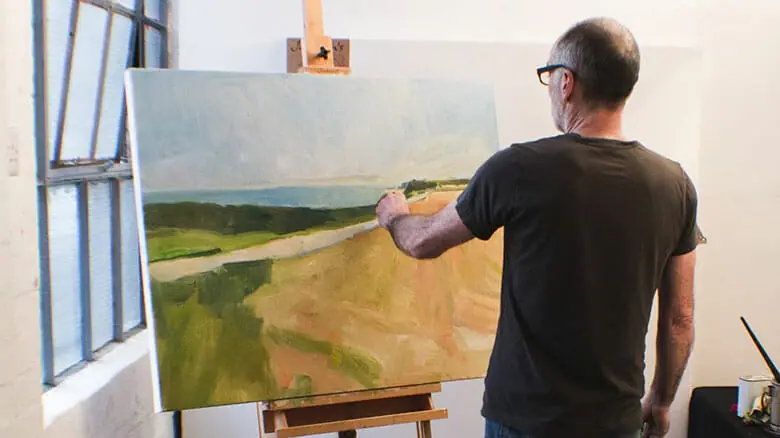
Working from dark to light ensures a deeper contrast between important aspects and focal points of your painting.
Use several shades of the same color to transition from dark to light (and mix those colors on your palette).
This ensures there won’t be a ‘muddy’ quality of applied colors which are lighter in value.
Find out more about different oil painting techniques and styles.
Step 5: Protecting Your Top Layer With Varnish
Once you’re satisfied with your work, allow the final paint layer to completely dry before protecting the piece with a varnish; which will ensure your painting lasts a lifetime.
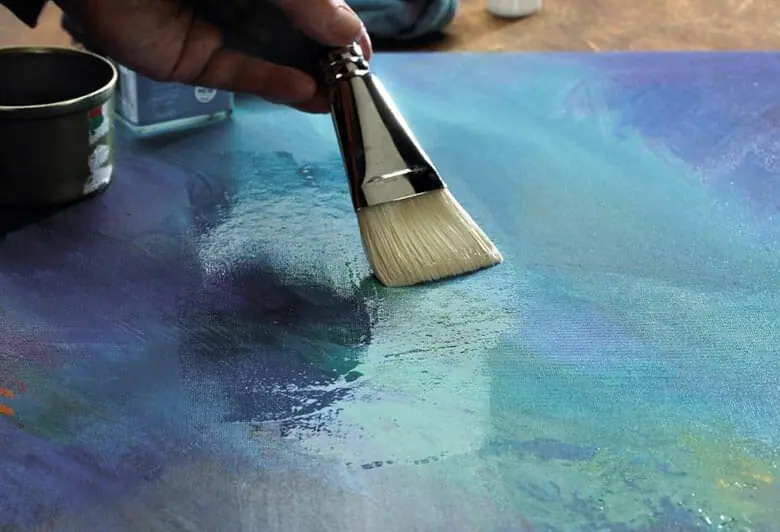
This mixture is resin dissolved in solvent, and should be applied in one layer, with brush strokes following the same direction to avoid any drying inconsistencies (especially if it’s a gloss resin).
You can also use a matte spray, in which case you can tack on as many layers as you feel are necessary.
Here is a detailed guide on how to varnish an oil painting.
Commonly Asked Questions About Layering Oil Paints:
How Many Layers Are Needed to Complete an Oil Painting?
This depends on the subject matter and skill level, but the average number of layers you need until your oil painting is complete is seven, according to several sources.
Does Oil Paint Need to Dry Between Layers?
Not necessarily. Advanced oil painters like Bob Ross completed his oil paintings in just one sitting. This technique is often referred to as “alla prima” or “at first attempt.” This oil painting technique means you paint “wet-on-wet.”
Why Do People Prefer to Layer Oil Paints?
There tends to be a more ‘polished’ look behind layered paintings, and oil paints are great for texture and retain their vibrancy, even well after the paint dries.
Can You Layer Acrylic Over Oil Paints?
You can do an acrylic underlayer, but NEVER put Acrylic over Oil or mix the paint mediums, as it will cause cracking.
Do You Need to Mix Your Oils With Medium to Paint Layers?
If you’re using pure oil paints, it’s common practice to use a mixing medium. It thins the paints, making them easier to apply to the canvas. It’s typically used for your underpainting, and paints are mixed with less mineral spirits with each subsequent layer per “the fat-over-lean” technique.
Consider water-soluble oil paints if you absolutely can’t stand the idea of using an oil medium for oil painting because of the strong smell or toxic fumes.
The Importance Of Layering
Layering takes a lot of patience but wields incredible results.
With the techniques listed in this article, you can create a sense of detail, depth, and vibrancy that a single-layered painting can’t always accomplish.
Each step is vital to creating beautiful, dynamic paintings, but if you want to be walked through the process in even greater detail, consider taking a walk with Evolve Artist…
Evolve will help you every step of the way… with 350 hours of in-depth tutorials and personalized one on one feedback (all at your own pace), you’ll have everything you need to create stunning artworks you are proud of.


